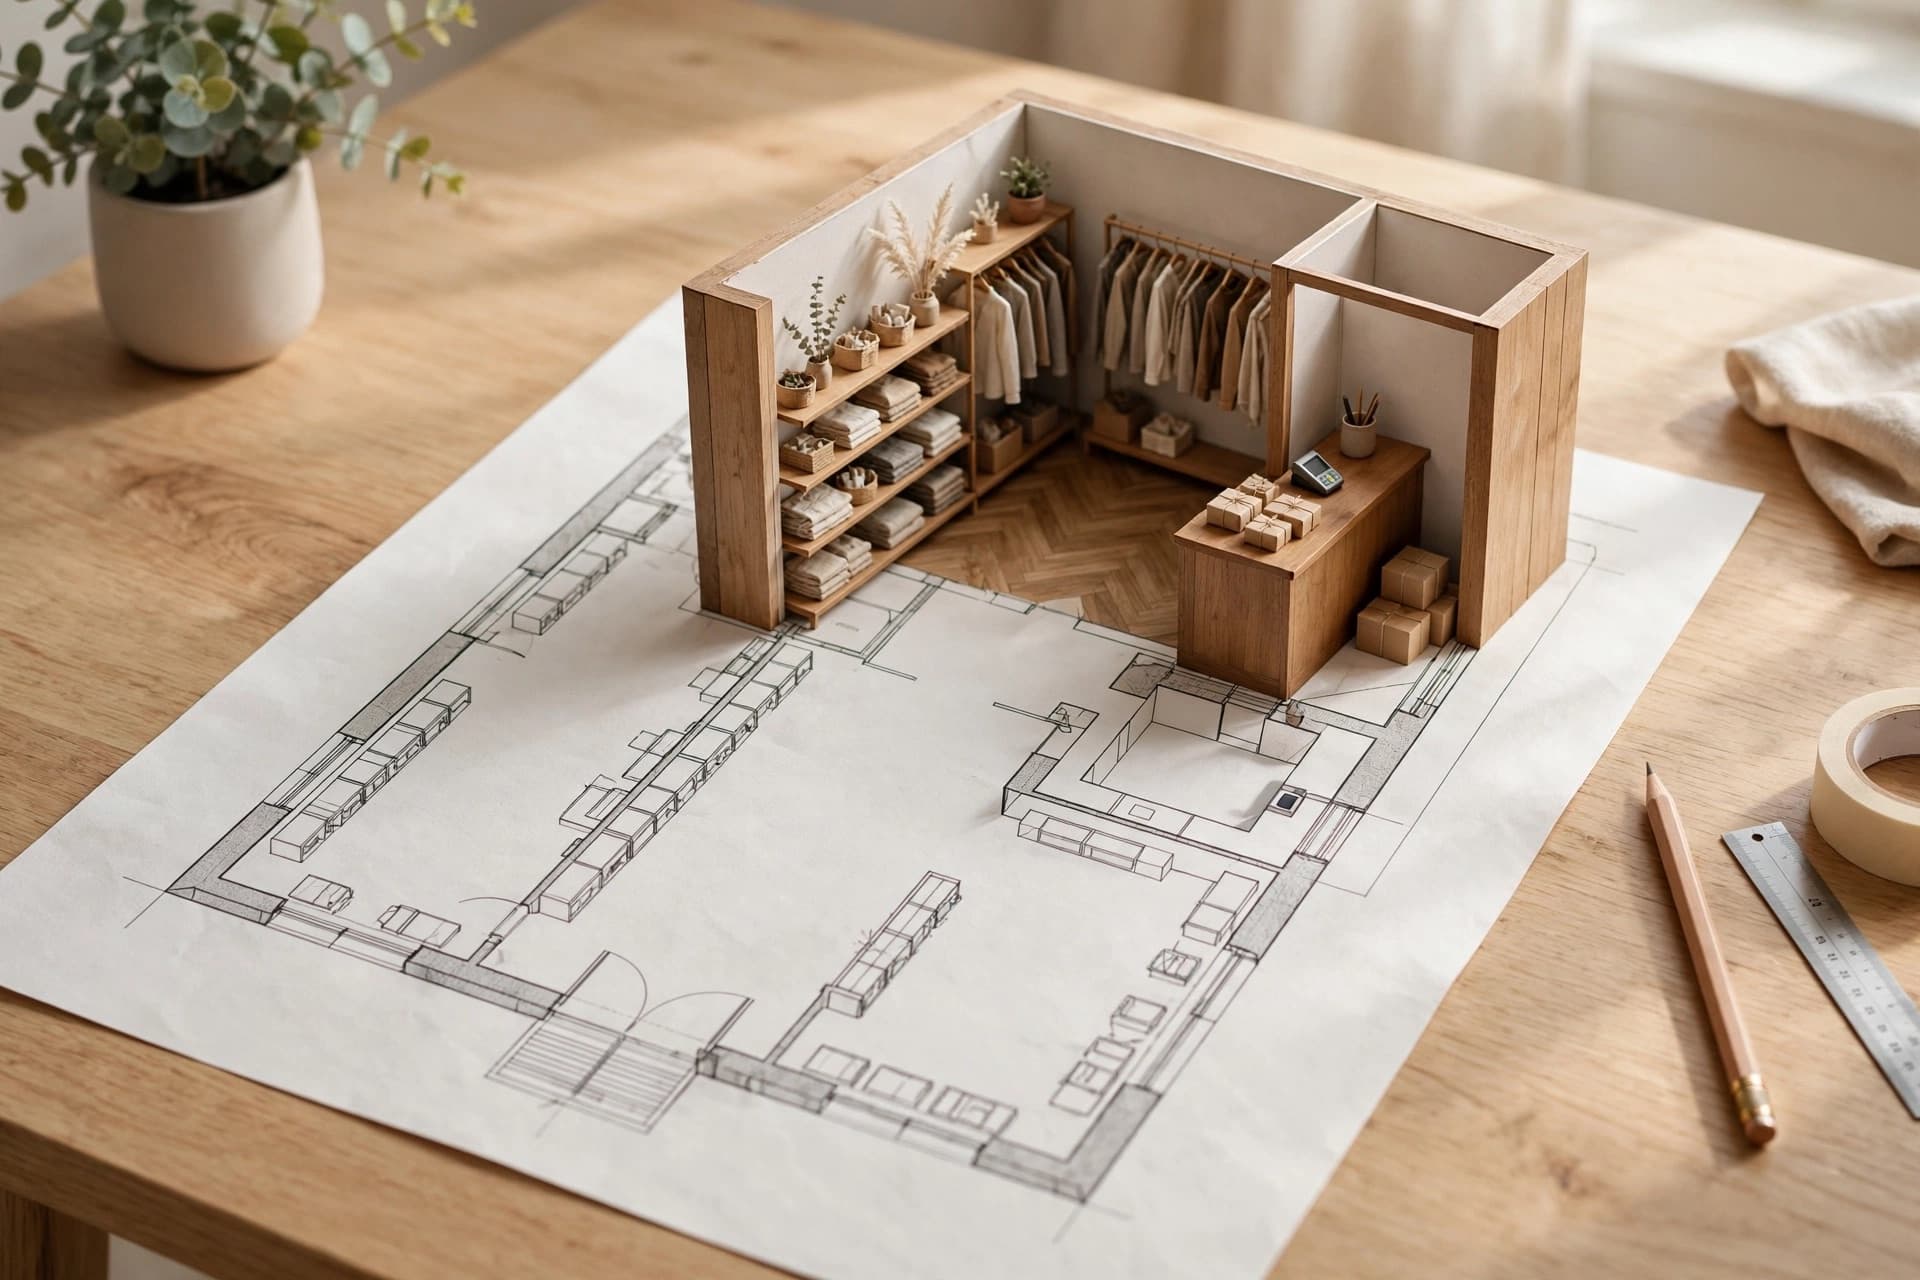
Turn a 2D floor plan into a photoreal 3D render
Drop in a floor plan — a CAD export, a PDF, even a phone photo of a printed plan — mark the area you care about, pick a view, and get a photoreal render back in about 30 seconds.
1 credit per render
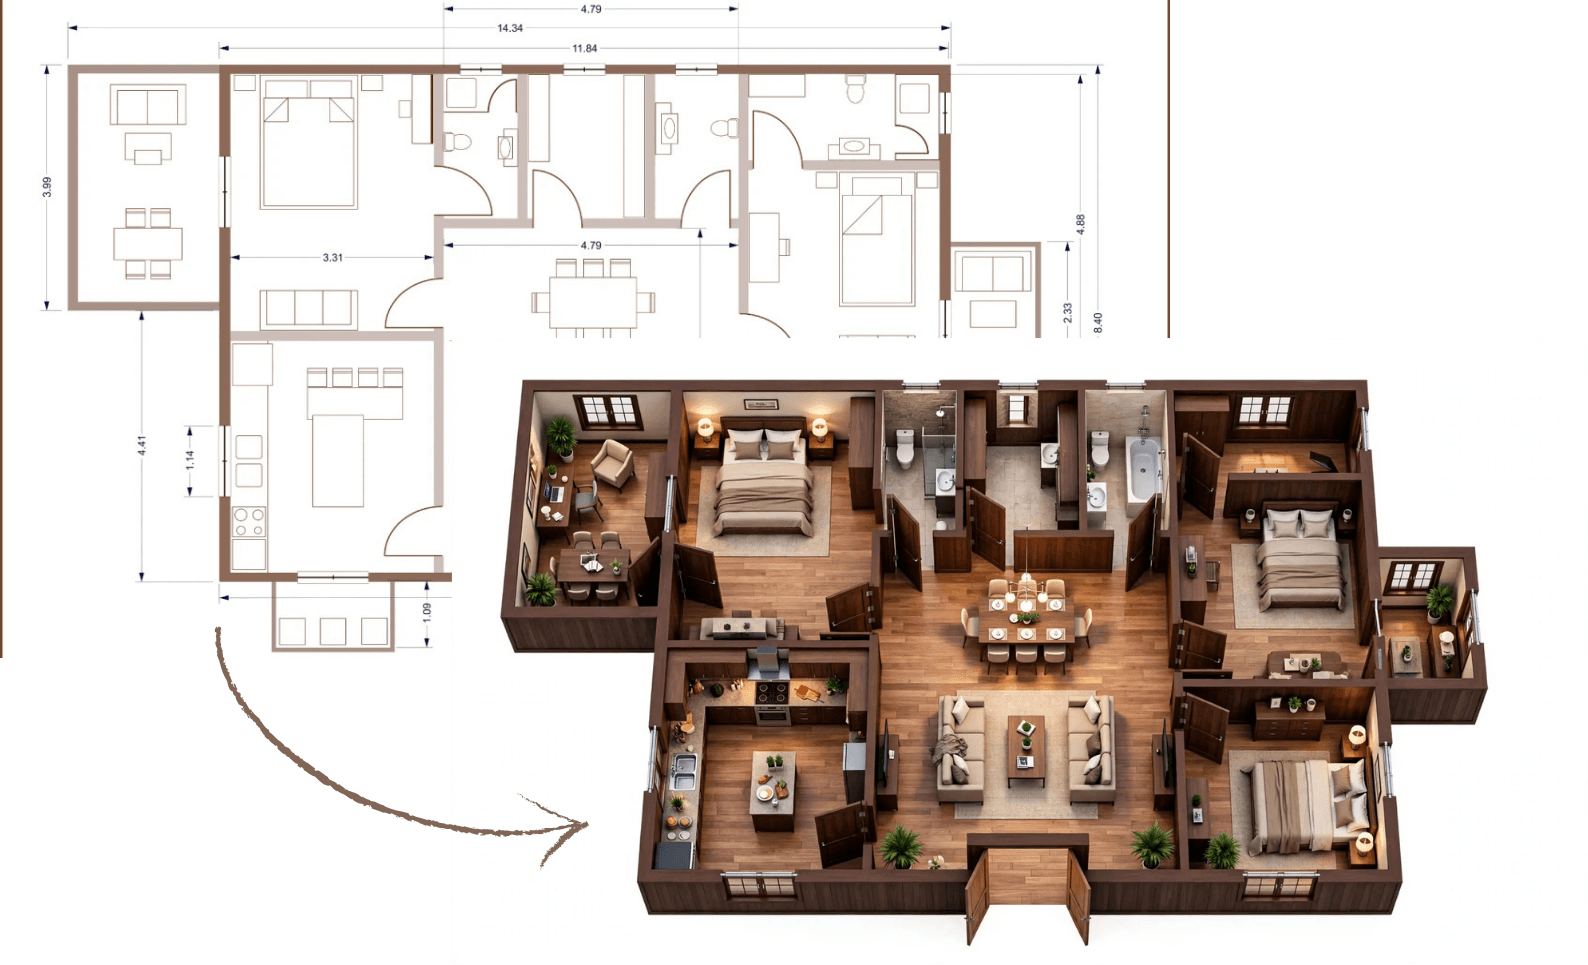
How it works
- 01
Upload the plan
JPG, PNG or PDF. Hand-drawn, CAD-exported or photographed off a wall — the plan only has to be readable, not perfect.
- 02
Mark the space
Rooms are detected automatically; drag the selection if you only want the sales floor, the fitting rooms or one corner of the showroom.
- 03
Choose the view
Cutaway for a doll-house overview, top-down for circulation and zoning, eye-level for what a customer actually sees walking in.
- 04
Render and refine
About 30 seconds later you have a render. Keep it, regenerate it, or send it to Fix a Render to change one detail without starting over.
Why it helps
What changes in practice once Floor Plan → 3D is part of the workflow.
No render engine to learn
Nothing to model, light or texture. The plan and a space type are the whole input, so the person who drew the plan can also present it.
Fast enough to use in the meeting
A studio turnaround is measured in days. This is measured in seconds, which means you can render a second option while the client is still talking about the first.
On-brand by default
Attach a brand kit and the palette, materials and mood carry into the render instead of being re-typed into a prompt each time.
When designers reach for it
- Pitching a store concept before any millwork is drawn
- Showing a landlord what a vacant unit becomes
- Turning an architect's DWG export into something a non-technical client can read
- Producing three zoning options for the same footprint in an afternoon
Questions about Floor Plan → 3D
What designers ask most often before putting Floor Plan → 3D on real client work.
See pricingJPG, PNG, WebP and PDF. If the plan is a photo, shoot it flat and in even light — the straighter the walls read, the more faithful the render.
It respects the layout and proportions of what you upload: wall positions, openings, circulation. It is a visualization tool, not a measured drawing, so use it to communicate intent rather than to specify construction.
Yes — that is what Angle Views is for. Render once, then place the camera anywhere on the plan and generate what someone standing there would see.
Works well with
Angle Views
Place a camera anywhere on your top-down render and generate the eye-level view from that exact spot. Walk a client through the store before it exists.
Learn moreFix a Render
Mark the part of a render that is wrong, describe the change in a sentence, and regenerate only that area. Lighting, a fixture, a material — the rest stays put.
Learn moreBrand kits
Save a client's palette, materials and mood once. Every render generated for that client follows the same guidelines, across every tool.
Learn more