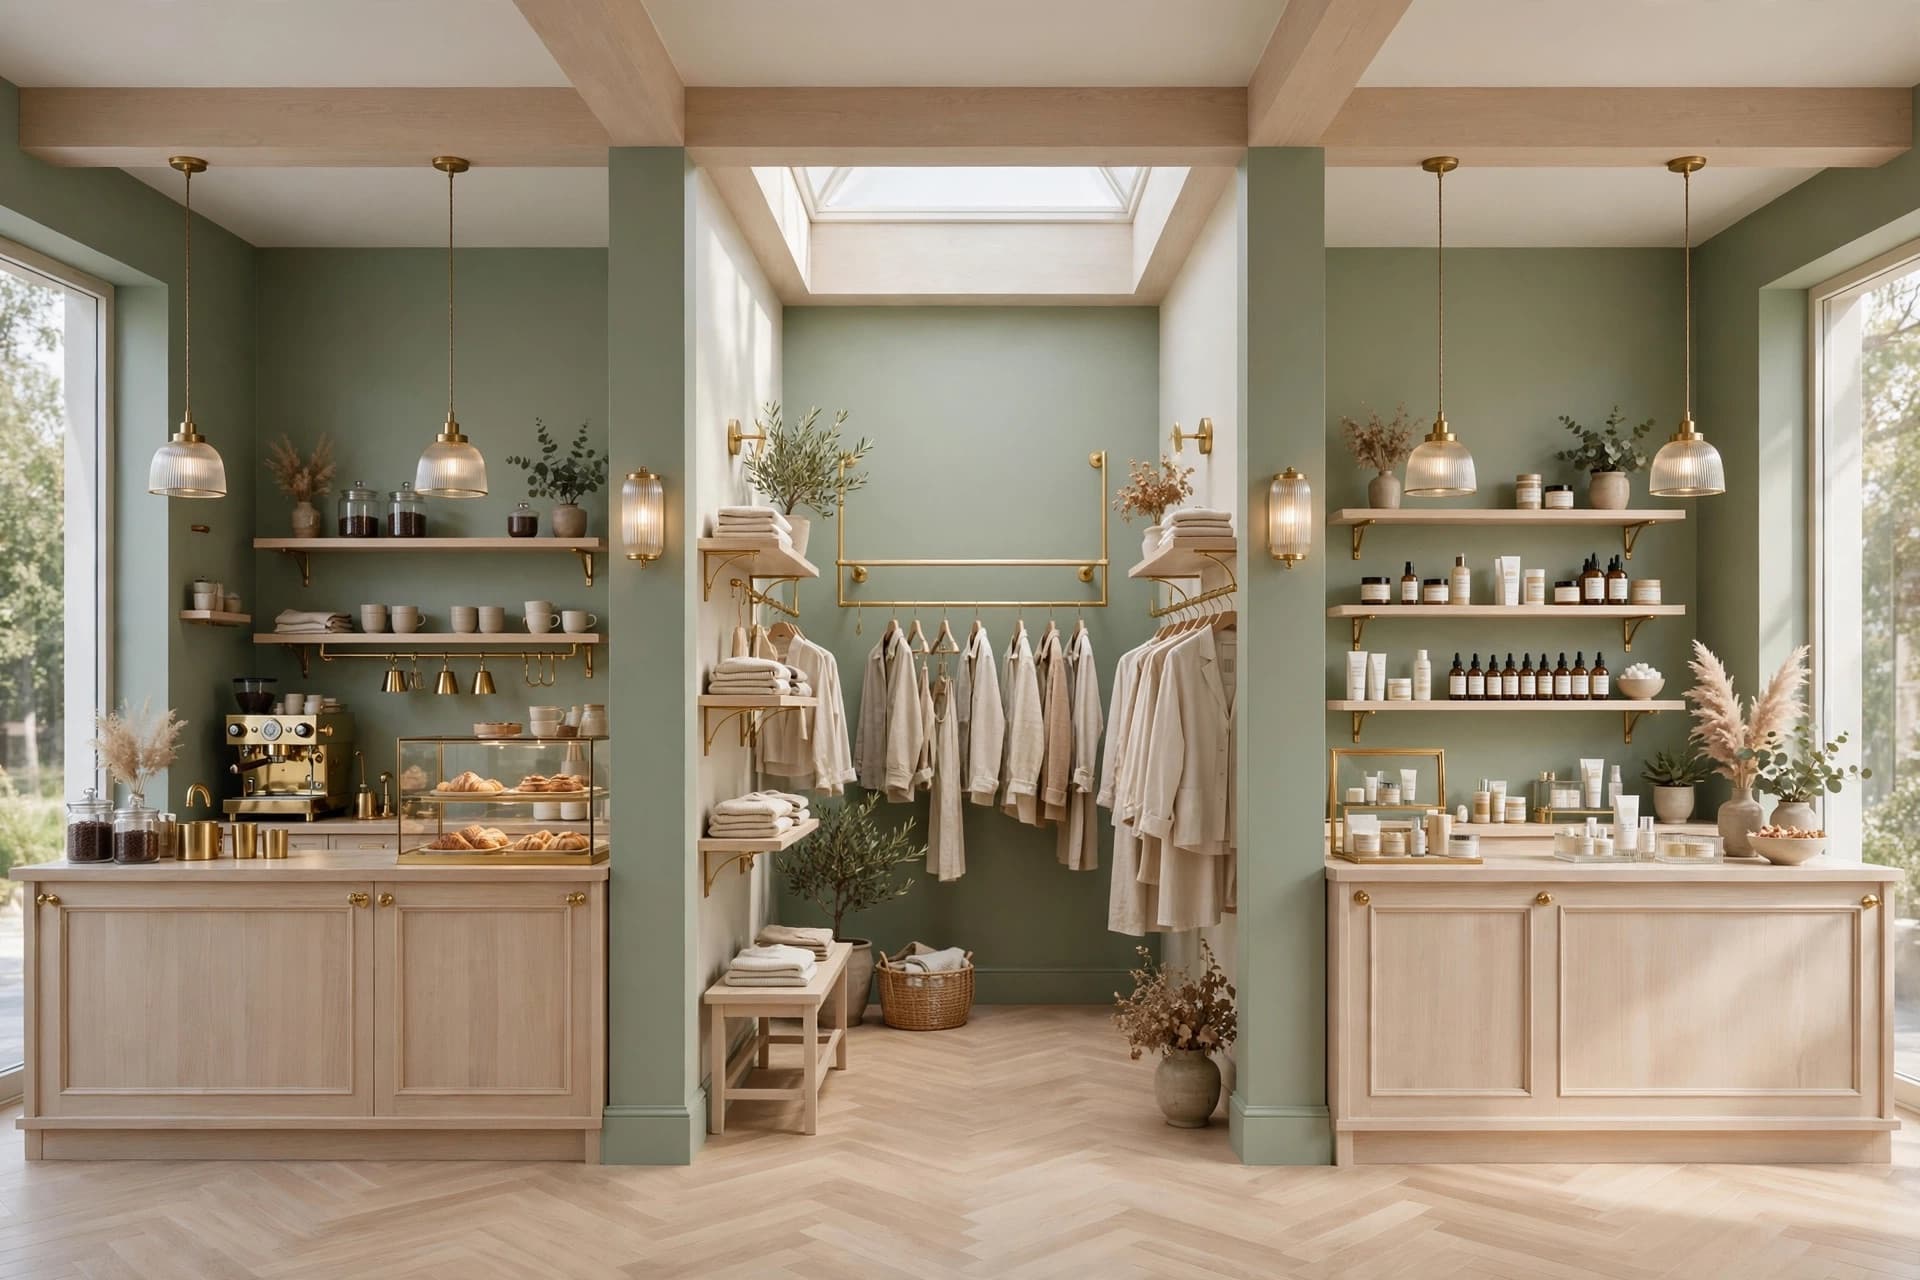
Two store concepts, one clear decision: how to compare retail designs
Compare two retail design concepts with a clear brief, matching camera views and a practical review checklist that turns client feedback into a next step.
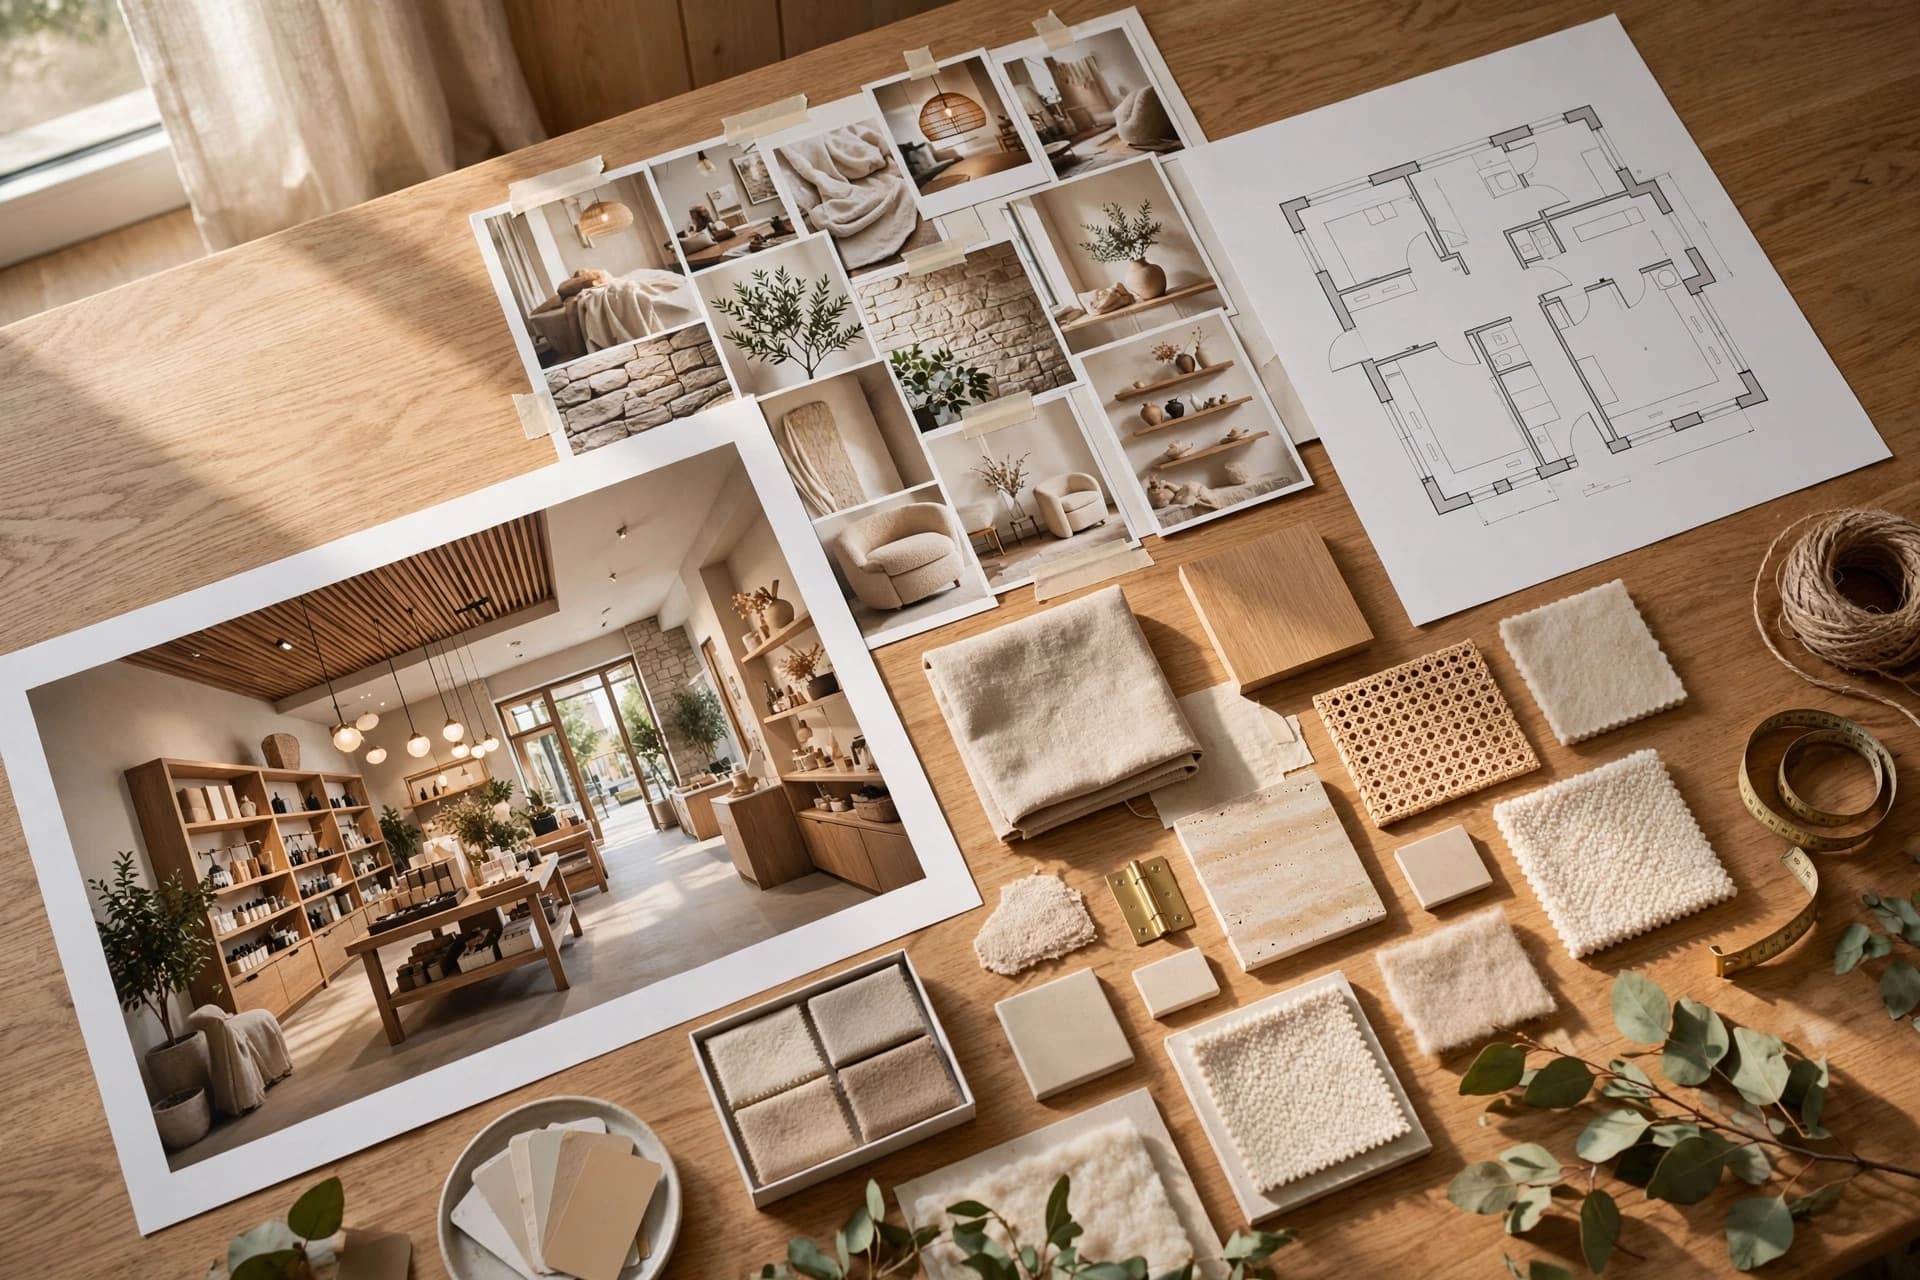
Put two beautiful store renders in front of a client and the first response will often be a preference: I like this one. That is a useful start, but it is not yet a design decision. You still need to know what they like, what the concept needs to achieve, and which parts of the image they are approving.
A useful comparison gives both options the same chance and asks a specific question. Here is a practical way to prepare two concepts, review them together, and leave the meeting with a brief you can act on.
1. Write the decision before making the images
Start with one sentence that explains the choice. For example: should the entrance introduce the collection through a central display, or keep the floor open and lead attention to a product wall? Both directions can look good. The comparison is about the role of the entrance, not which image feels more polished.
- Name the zone being reviewed: entrance, sales floor, checkout or fitting rooms.
- State the priority: product visibility, a quieter atmosphere, flexibility or a clearer route through the store.
- List what is already fixed: existing openings, retained fixtures, brand palette and the project brief.
- Say what the client can decide today, and what still needs a measured plan or supplier input.
2. Change one design idea at a time
If option A changes the floor, the lighting, the fixtures and the layout, while option B changes none of them, a preference tells you very little. Build both options around a shared base. Keep the shell, material palette and lighting brief consistent, then vary the element you want to discuss.
For an entrance study, A might use a low central table and B might use a wall display. For a materials study, keep the fixture arrangement the same and compare two finishes. A complete alternative concept can be useful later; an early comparison is easier to read when the difference is explicit.
A comparison earns its place when the client can explain the difference without reading the slide title.
3. Match the camera and the presentation
A wide entrance view and a close-up of a product wall do not answer the same question. Show both options from a comparable camera position, with similar framing and the same image size. Check that one image has not gained an advantage from a brighter exposure, extra styling or a more flattering crop.
- Use an eye-level entrance view to discuss the first impression and visible product displays.
- Add a top-down view when the question involves fixture positions or the route between zones.
- Use matching detail views when comparing finishes, signage or a display treatment.
- Label the options with their design intent, such as central display and open entrance, rather than best and alternative.
Read every generated view before presenting it. If a doorway moves or a fixture changes between images, correct it or flag the inconsistency. A convincing render can still contain details that do not belong to the proposed design.
4. Ask for observations before preferences
Give the client a moment to look, then ask what they notice first in each option. Follow with questions tied to the brief: which products are easiest to see from the entrance? Where would they expect to walk next? Which arrangement feels closer to the brand? Ask for a preference after those observations, while the reasons are still clear.
Avoid turning the render into evidence it cannot provide. An image can help discuss perceived openness or the prominence of a display. It cannot establish aisle dimensions, accessibility compliance, installation costs or a sales uplift. Record those as separate checks against drawings, specifications and project requirements.
5. Translate feedback into an edit brief
A comment such as A feels warmer is too vague to guide the next image. Ask which visible elements create that feeling: the timber finish, the wall colour, the lighting or the amount of merchandise. Then record what to keep and what to change in concrete terms.
- Keep: option B's open entrance and wall display arrangement.
- Change: use the oak finish shown in option A on the display fixtures.
- Check: confirm the proposed fixture dimensions on the measured plan.
- Next review: show the revised entrance and a matching view toward checkout.
If the selected image only needs a local change, start from that image and edit the relevant area. Review the result against the approved version so that an adjustment to a finish does not quietly become a different layout.
6. Save the decision with the images
Keep both reviewed options, the selected direction and the written feedback together in the client project. Use clear version labels and include the date. When sharing the next proposal, say which decisions it carries forward and which questions remain open.
- 1Prepare two options around one explicit design question.
- 2Check the shared layout, materials and matching views.
- 3Review both against the same priorities from the brief.
- 4Record the chosen direction, requested edits and technical checks.
- 5Present the revision with a short note explaining what changed.
The useful outcome of the meeting is a sentence everyone can repeat: we chose the open entrance, kept the oak fixtures, and still need to verify the circulation on the plan. That gives the next round a clear purpose and makes approval easier to track.