Step inside the render and look around
A top-down render tells you where things go. An angle view tells you what it feels like. Click where the camera should stand, choose perspective or eye level, and see the same space from there.
1 credit per view
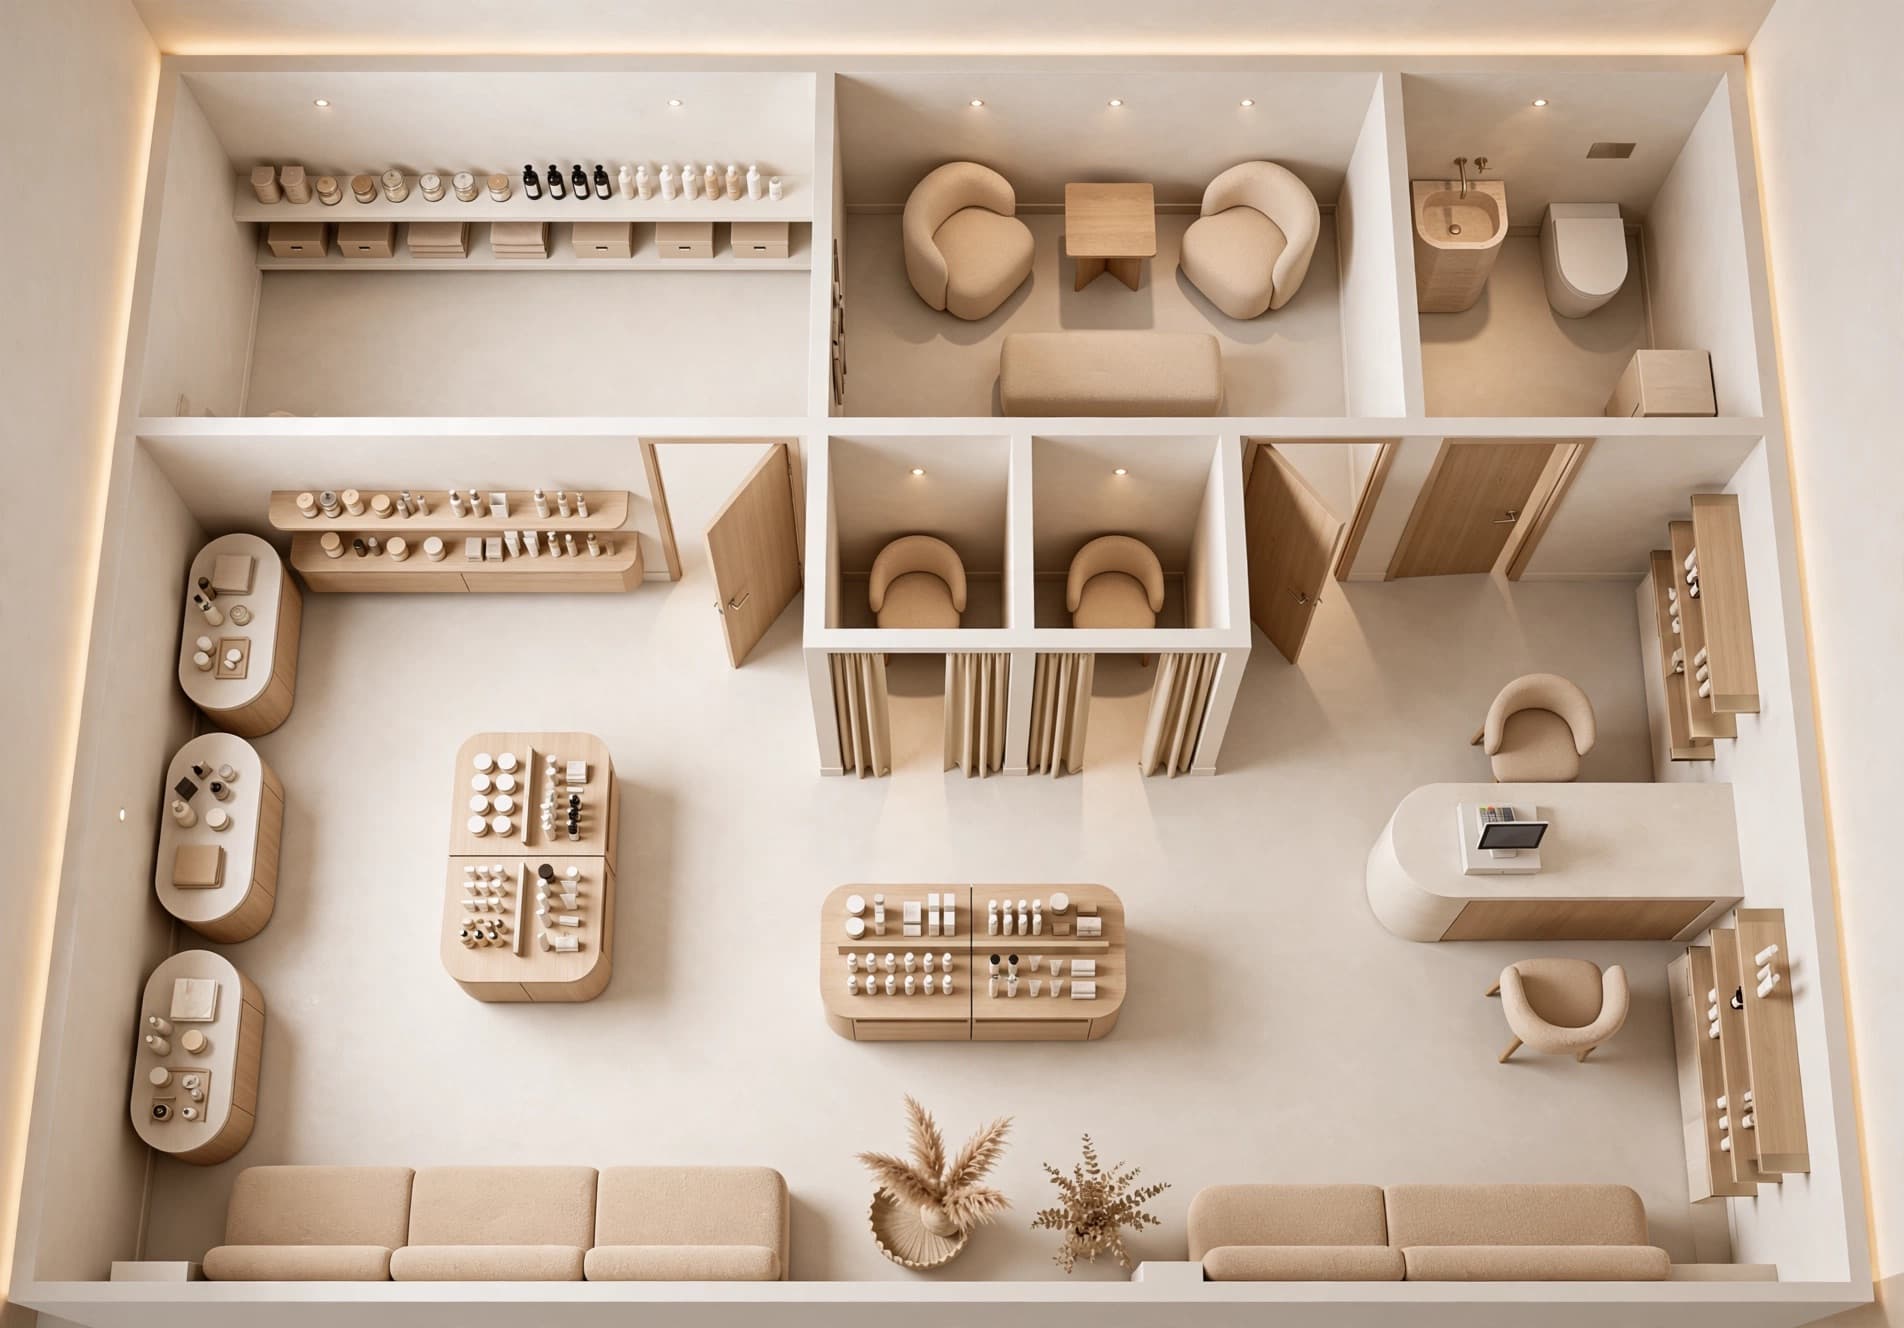 Top-down
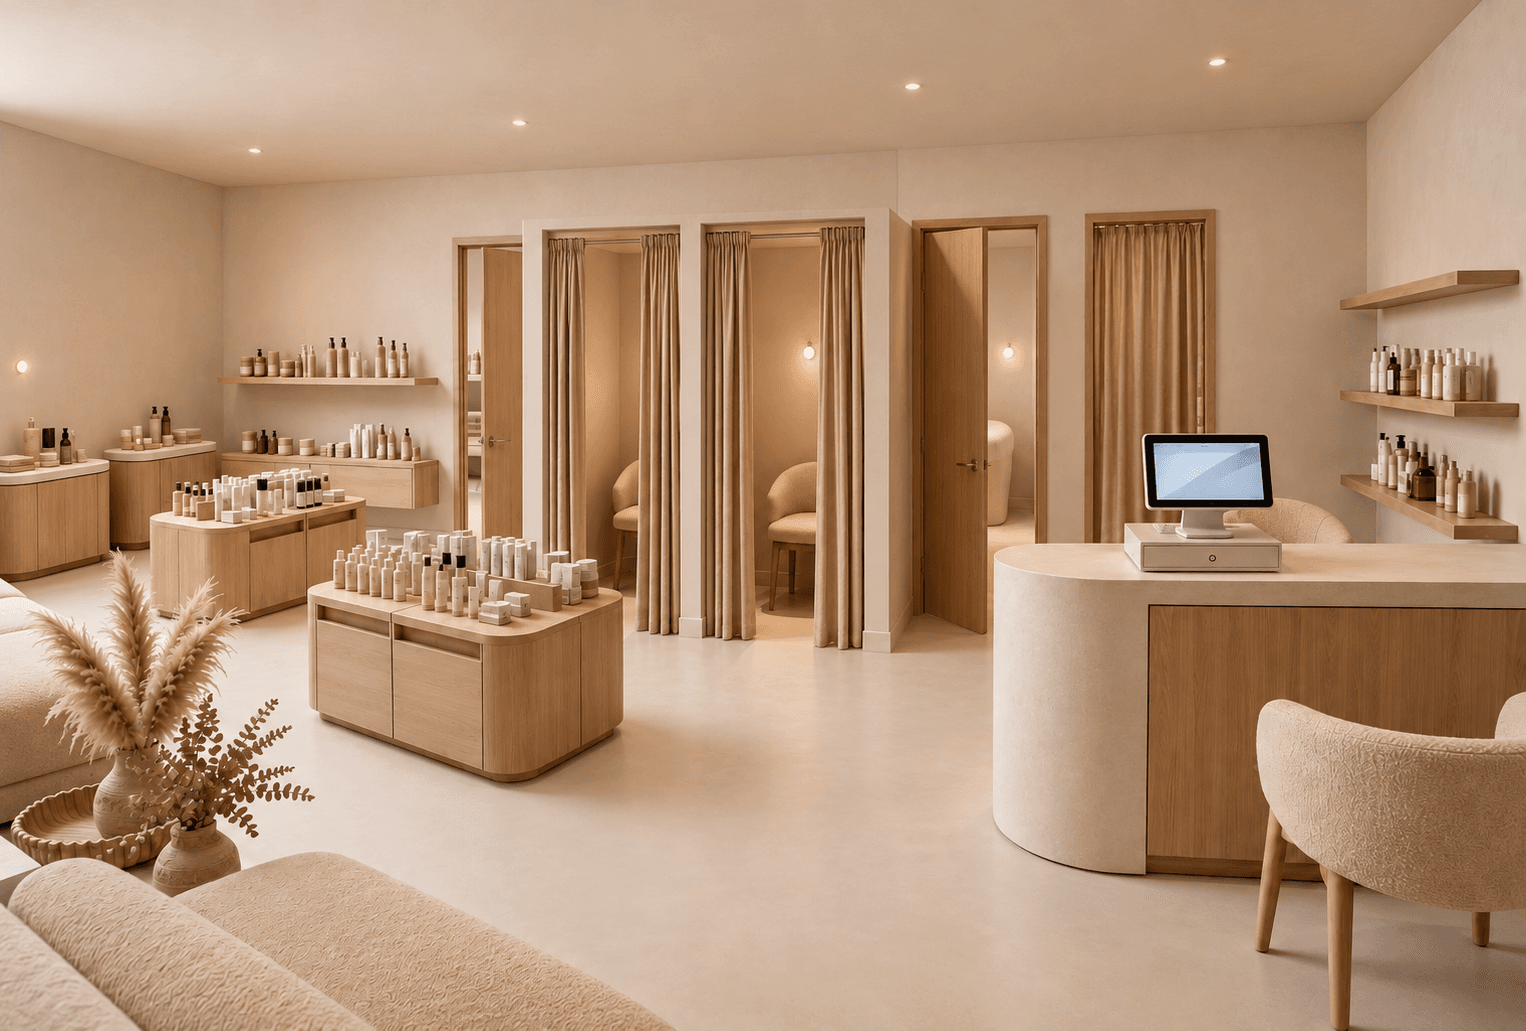 Eye level
How it works
- 01
Start from a render
Any top-down or cutaway render you have already generated works as the base.
- 02
Drop the camera
Click the spot on the plan where the viewer stands — the entrance, the till, the end of an aisle.
- 03
Aim it
Set the direction the camera looks, and pick perspective for a wide reading of the space or eye level for a customer's-eye shot.
- 04
Generate
The new view keeps the same layout, materials and lighting as the render it came from, so the set stays coherent.
Why it helps
What changes in practice once Angle Views is part of the workflow.
Consistency across shots
Every angle derives from the same render, so the floor, the fixtures and the light do not quietly change between slides.
Answers the question clients actually ask
"What do I see when I walk in?" is hard to answer with a plan and easy to answer with the view from the doorway.
A deck, not a single image
Three or four angles turn one render into a walkthrough you can put in a proposal.
When designers reach for it
- The entrance shot for the cover of a proposal
- Checking sightlines to a feature wall or a hero product
- Showing staff circulation from behind the counter
- Comparing the same corner before and after a fixture change
Questions about Angle Views
What designers ask most often before putting Angle Views on real client work.
See pricingAs many as you have credits for. Each generated view costs one credit, and they all stay in your gallery.
Perspective sits slightly higher and wider, which reads the whole space well. Eye level sits at roughly a standing person's height, which reads the experience of being in it.
Works well with
Floor Plan → 3D
Upload a 2D floor plan and get a photoreal 3D render in about 30 seconds — cutaway, top-down or eye-level. No CAD, no render engine, no studio queue.
Learn moreFix a Render
Mark the part of a render that is wrong, describe the change in a sentence, and regenerate only that area. Lighting, a fixture, a material — the rest stays put.
Learn moreClient projects & PDF export
File renders into a client project and export a polished PDF proposal — project overview, brand direction and selected renders — in one click.
Learn more