Storefront rendering from a photo of the shopfront
Photograph the existing frontage, describe the new direction and get a storefront rendering back in seconds — new signage, window displays, materials and lighting, on the real building. Then step inside and render the shop floor the customer walks into.
Try with 2 free generations
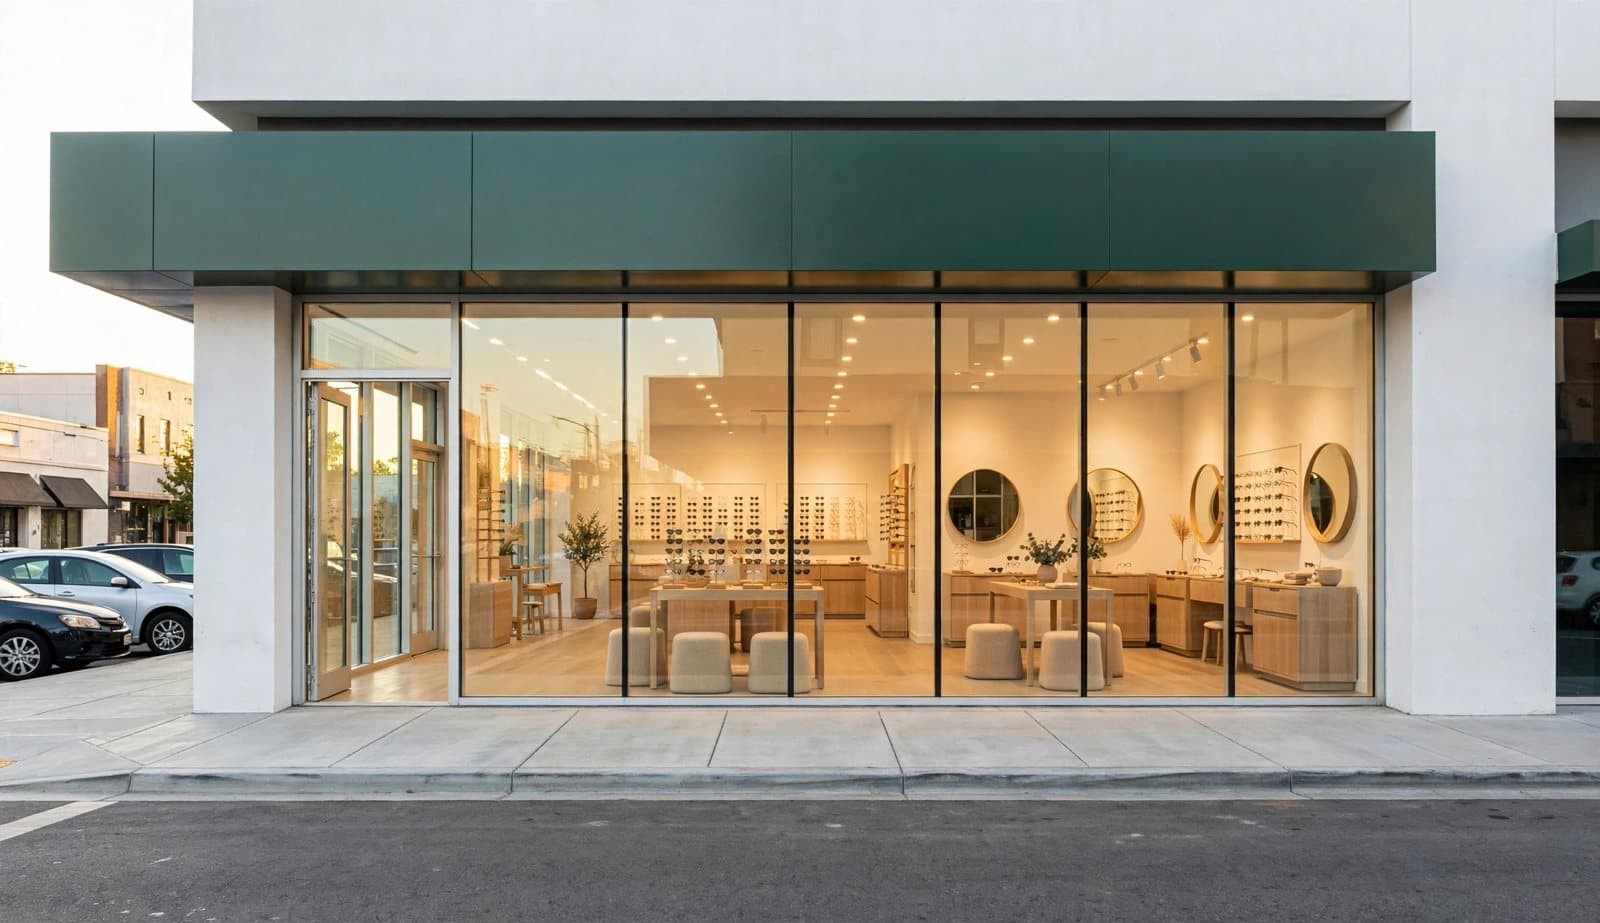 Storefront render
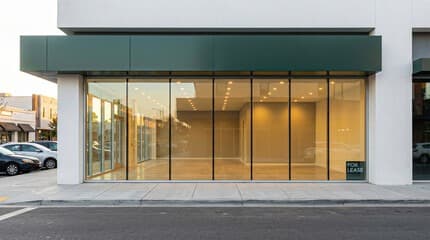 Before
What is a storefront rendering?
A storefront rendering — also called a shopfront or retail facade rendering — shows how the street side of a shop will look once it is redesigned: the fascia and signage, the glazing and window displays, the entrance, the materials and the lighting at night. It is the image that sells a retail concept to a landlord, a planning officer or a brand, because it is the first thing a passer-by will see.
With RetailInterior you start from a photo of the real frontage, so the building, the openings and the street stay where they are. Only the design changes.
What you can test on a shopfront
Because each render takes seconds, you can compare options rather than commit to the first one:
- Signage and fascia — position, scale, material and lighting of the brand name.
- Window displays — a seasonal window, a product wall, an open view into the shop.
- Materials — painted timber, stone, metal frames, tiles, awnings.
- Entrance — door position, a recessed entry, the threshold seen from the pavement.
- Day and evening — how the frontage reads once the interior lighting does the work.
From the facade to the shop floor
A storefront rarely gets approved on its own. Once the frontage works, use the same brand kit to render the interior from the floor plan, place a camera at the entrance with Angle Views to show what the customer sees when they walk in, and gather the set in a client project to export as a PDF.
Taking a good photo of the storefront
Shoot straight on or at a slight angle, from the other side of the pavement, in even daylight. Keep the whole frontage in frame with a little of the neighbouring buildings, so the render keeps the right scale. Avoid strong reflections in the glazing when you can.
How to create a storefront rendering
- 01
Photograph the frontage
One photo of the existing shopfront, wide enough to include the whole facade.
- 02
Describe the new storefront
"Black steel frame, oak door, backlit brass lettering, minimal window display."
- 03
Compare variants
Generate up to four directions at once and keep the one that works.
- 04
Fix the details
Mark the sign or the window that is off and regenerate only that area with Fix a Render.
When designers render a storefront
- Pitching a shopfront redesign to a brand before the survey
- Showing a landlord what a vacant unit could look like once let
- Testing signage options before a planning application
- Seasonal window display concepts
- Rolling out a consistent frontage across several stores
- Before-and-after visuals for a refit proposal
Questions about storefront rendering
Short answers to what people ask before their first render.
Try it freeYes. Upload a photo of the existing shopfront to Design a Space, describe the new direction, and the render keeps the building while changing the fit-out, signage and materials.
Yes. Idea Generator creates a concept render from a written brief, which is useful for early mood directions before you have access to the site.
It is a visualization that communicates design intent. Planning and construction still need measured drawings and the documents your local authority requires.
Yes. Save the brand once as a brand kit and apply it to the storefront render and every interior render of the same store.
Tools for the job
Design a Space
Create a store rendering from a photo with AI. Explore shop refits, storefront concepts and room redesigns with new materials, displays and lighting.
Learn moreIdea Generator
Create a shop or interior concept render from a written brief. Explore retail displays, materials and lighting with AI, before you have a floor plan.
Learn moreFix a Render
Mark the part of a render that is wrong, describe the change in a sentence, and regenerate only that area. Lighting, a fixture, a material — the rest stays put.
Learn moreFurther reading
GuidesStorefront rendering: how to design a shopfront before the fit-out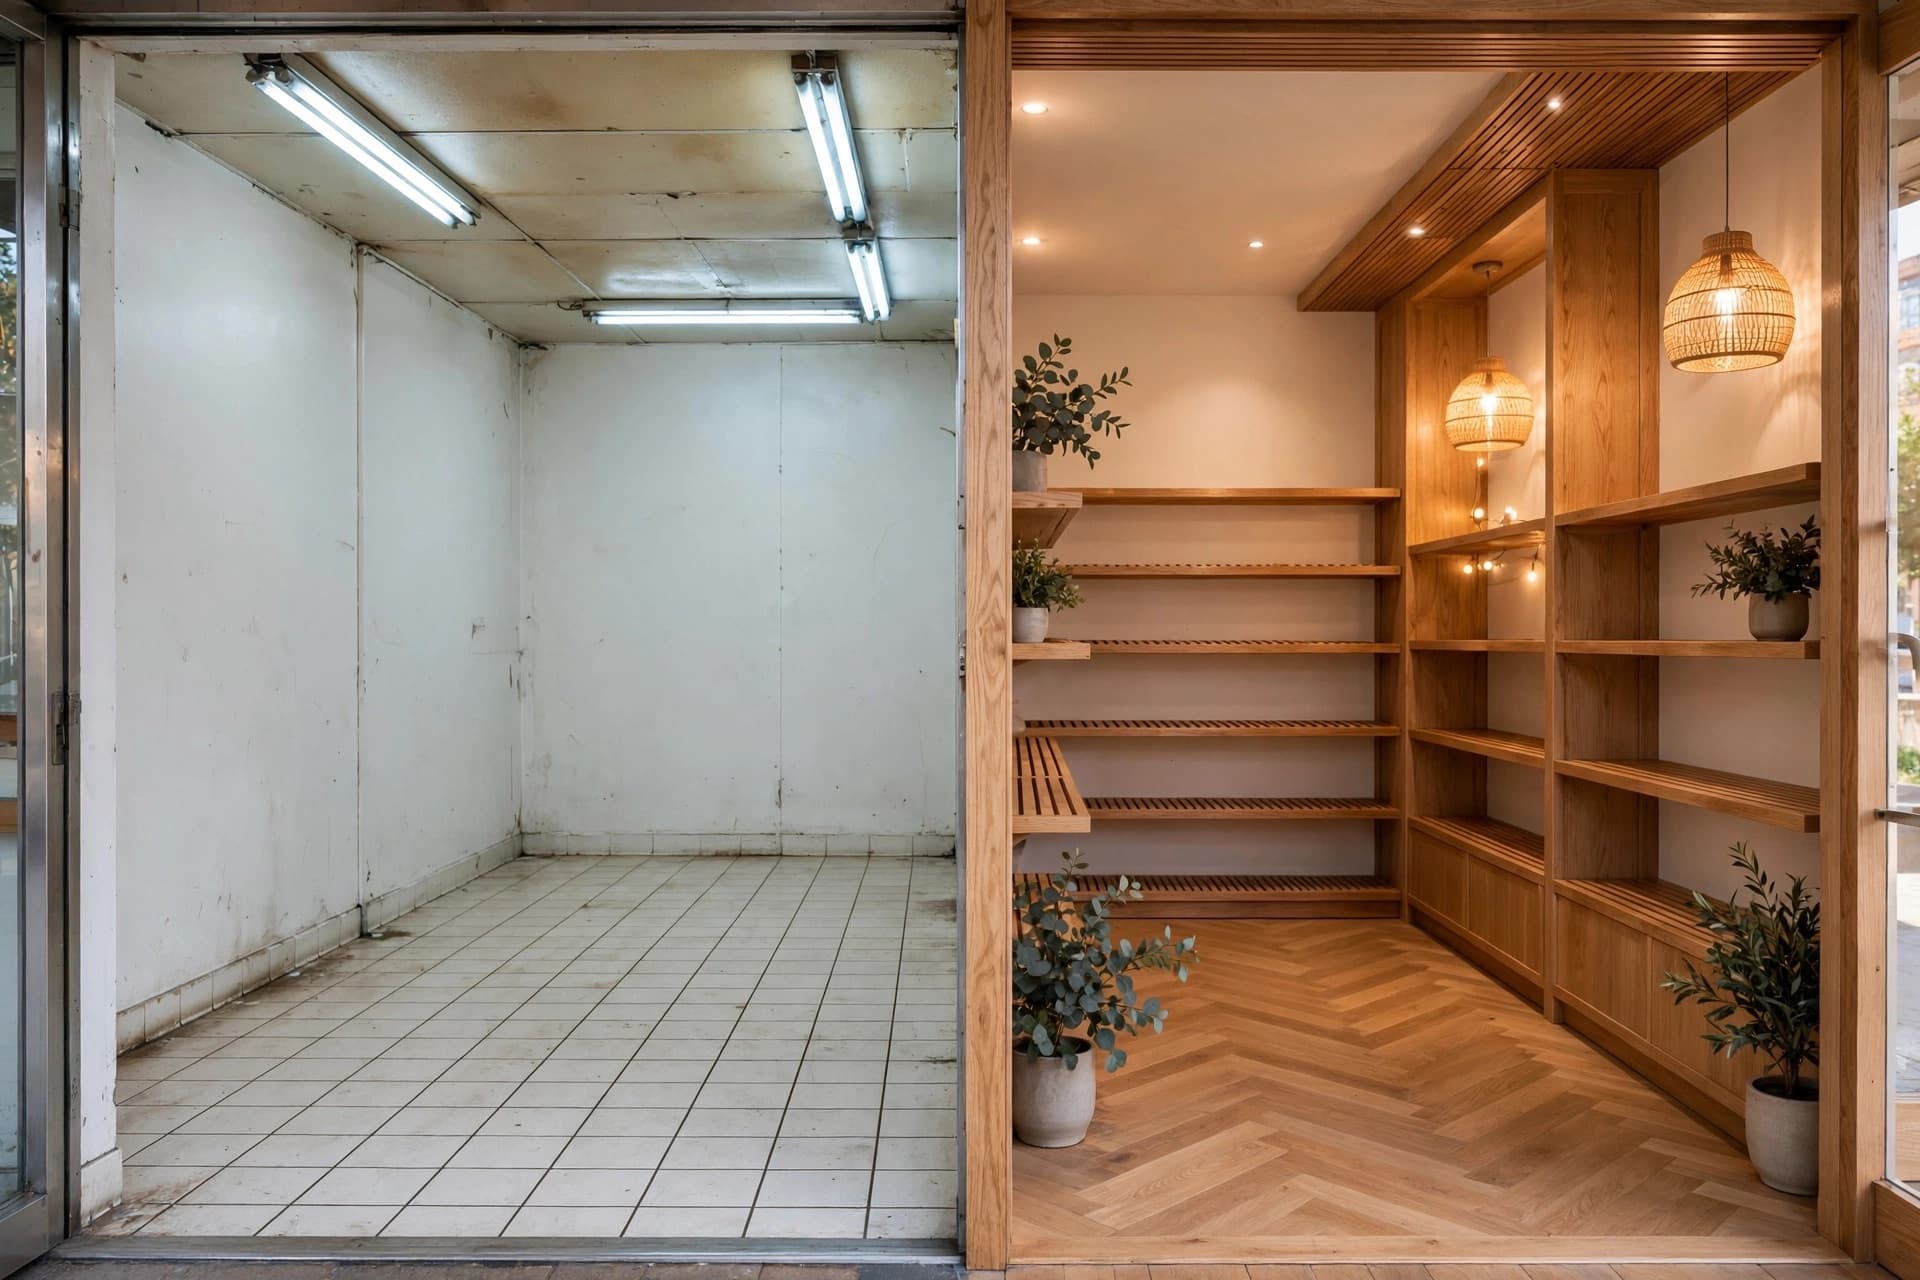 GuidesHow to redesign a store from a single photo
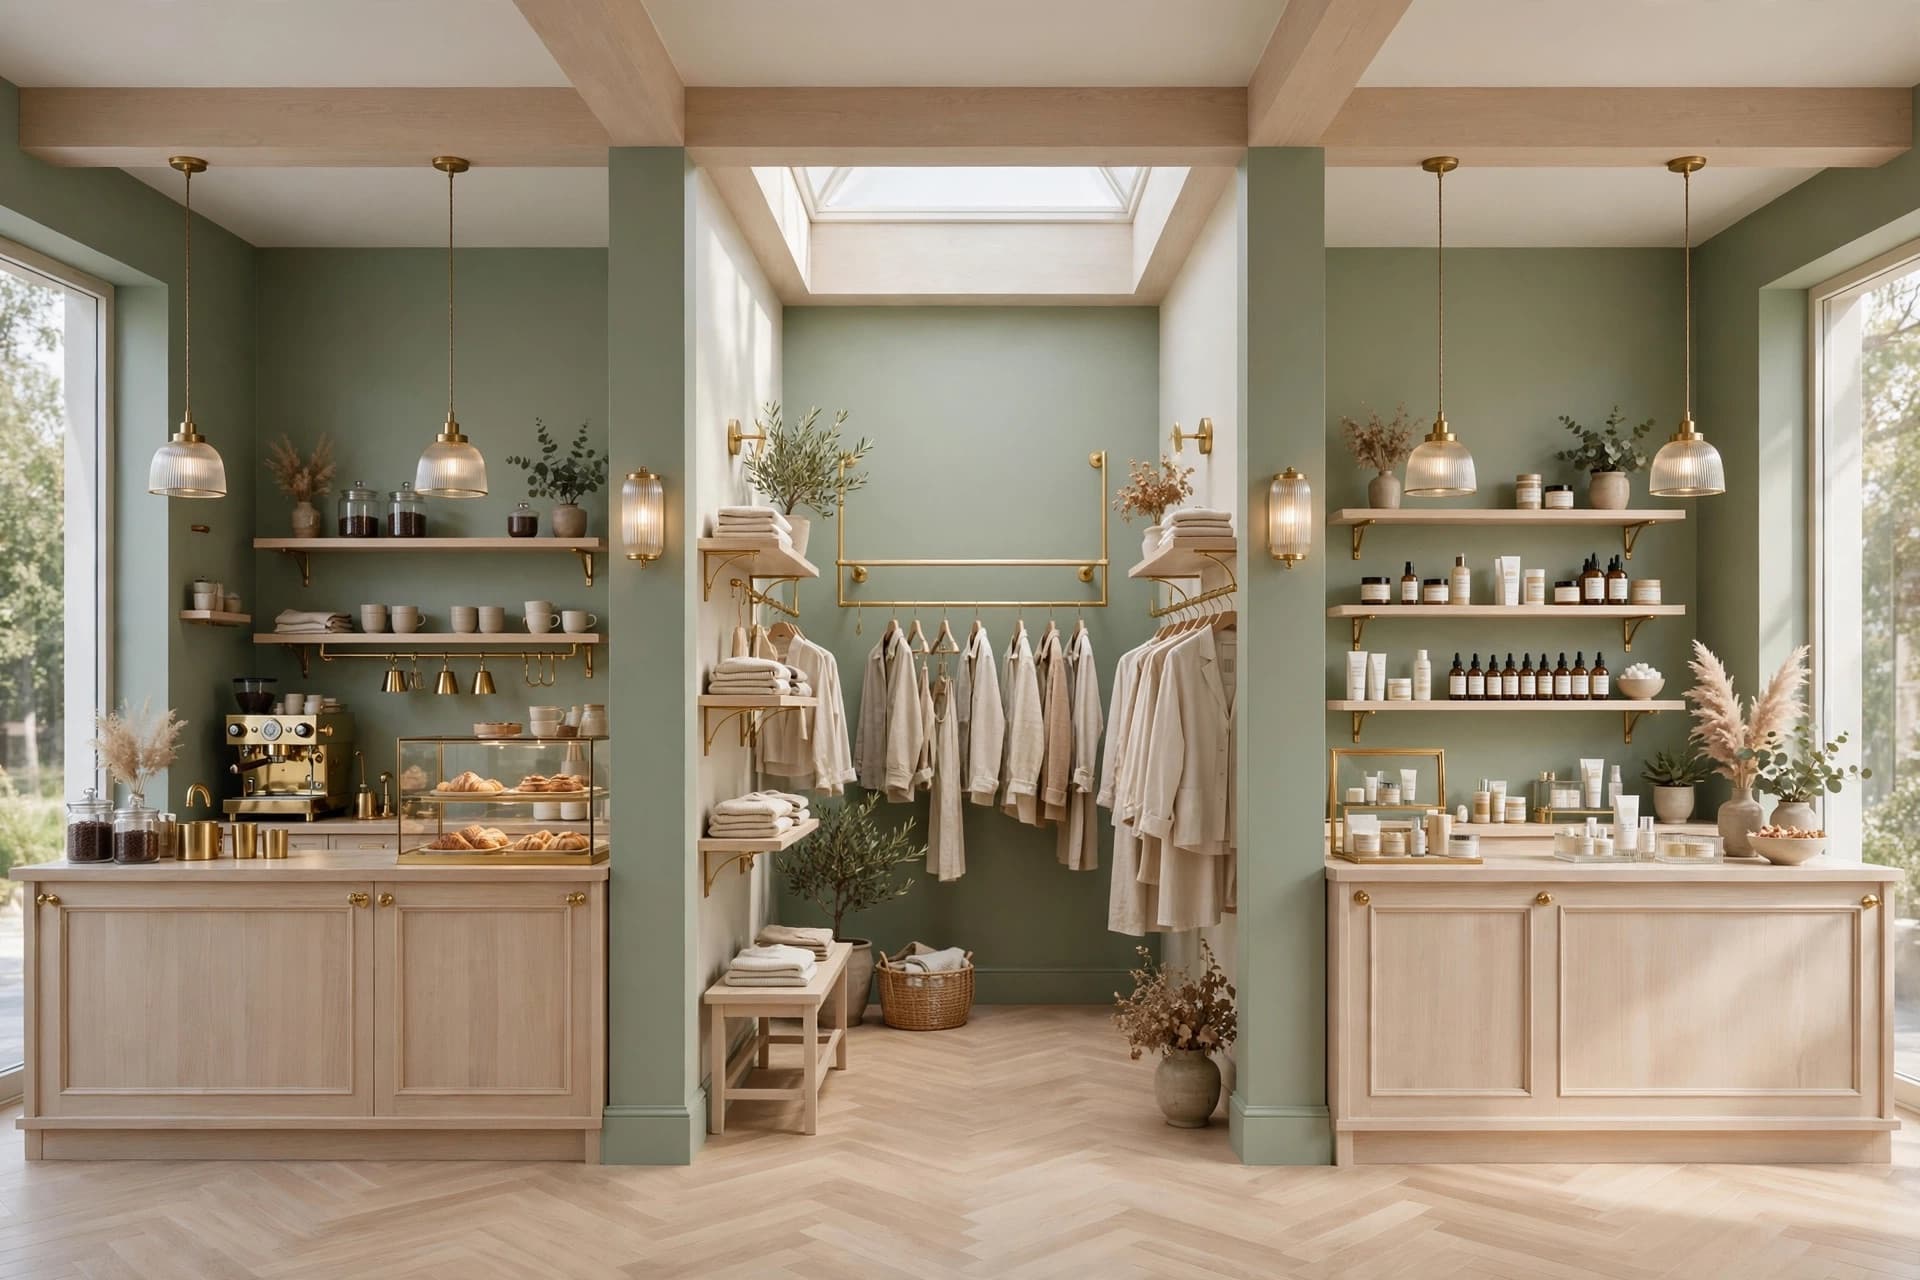 PracticeWhy your renders drift, and how to stop it