How to turn a floor plan into a 3D render
A practical walkthrough of going from a flat 2D plan to a photoreal interior render: what to upload, which view to pick, and how to fix what comes back.
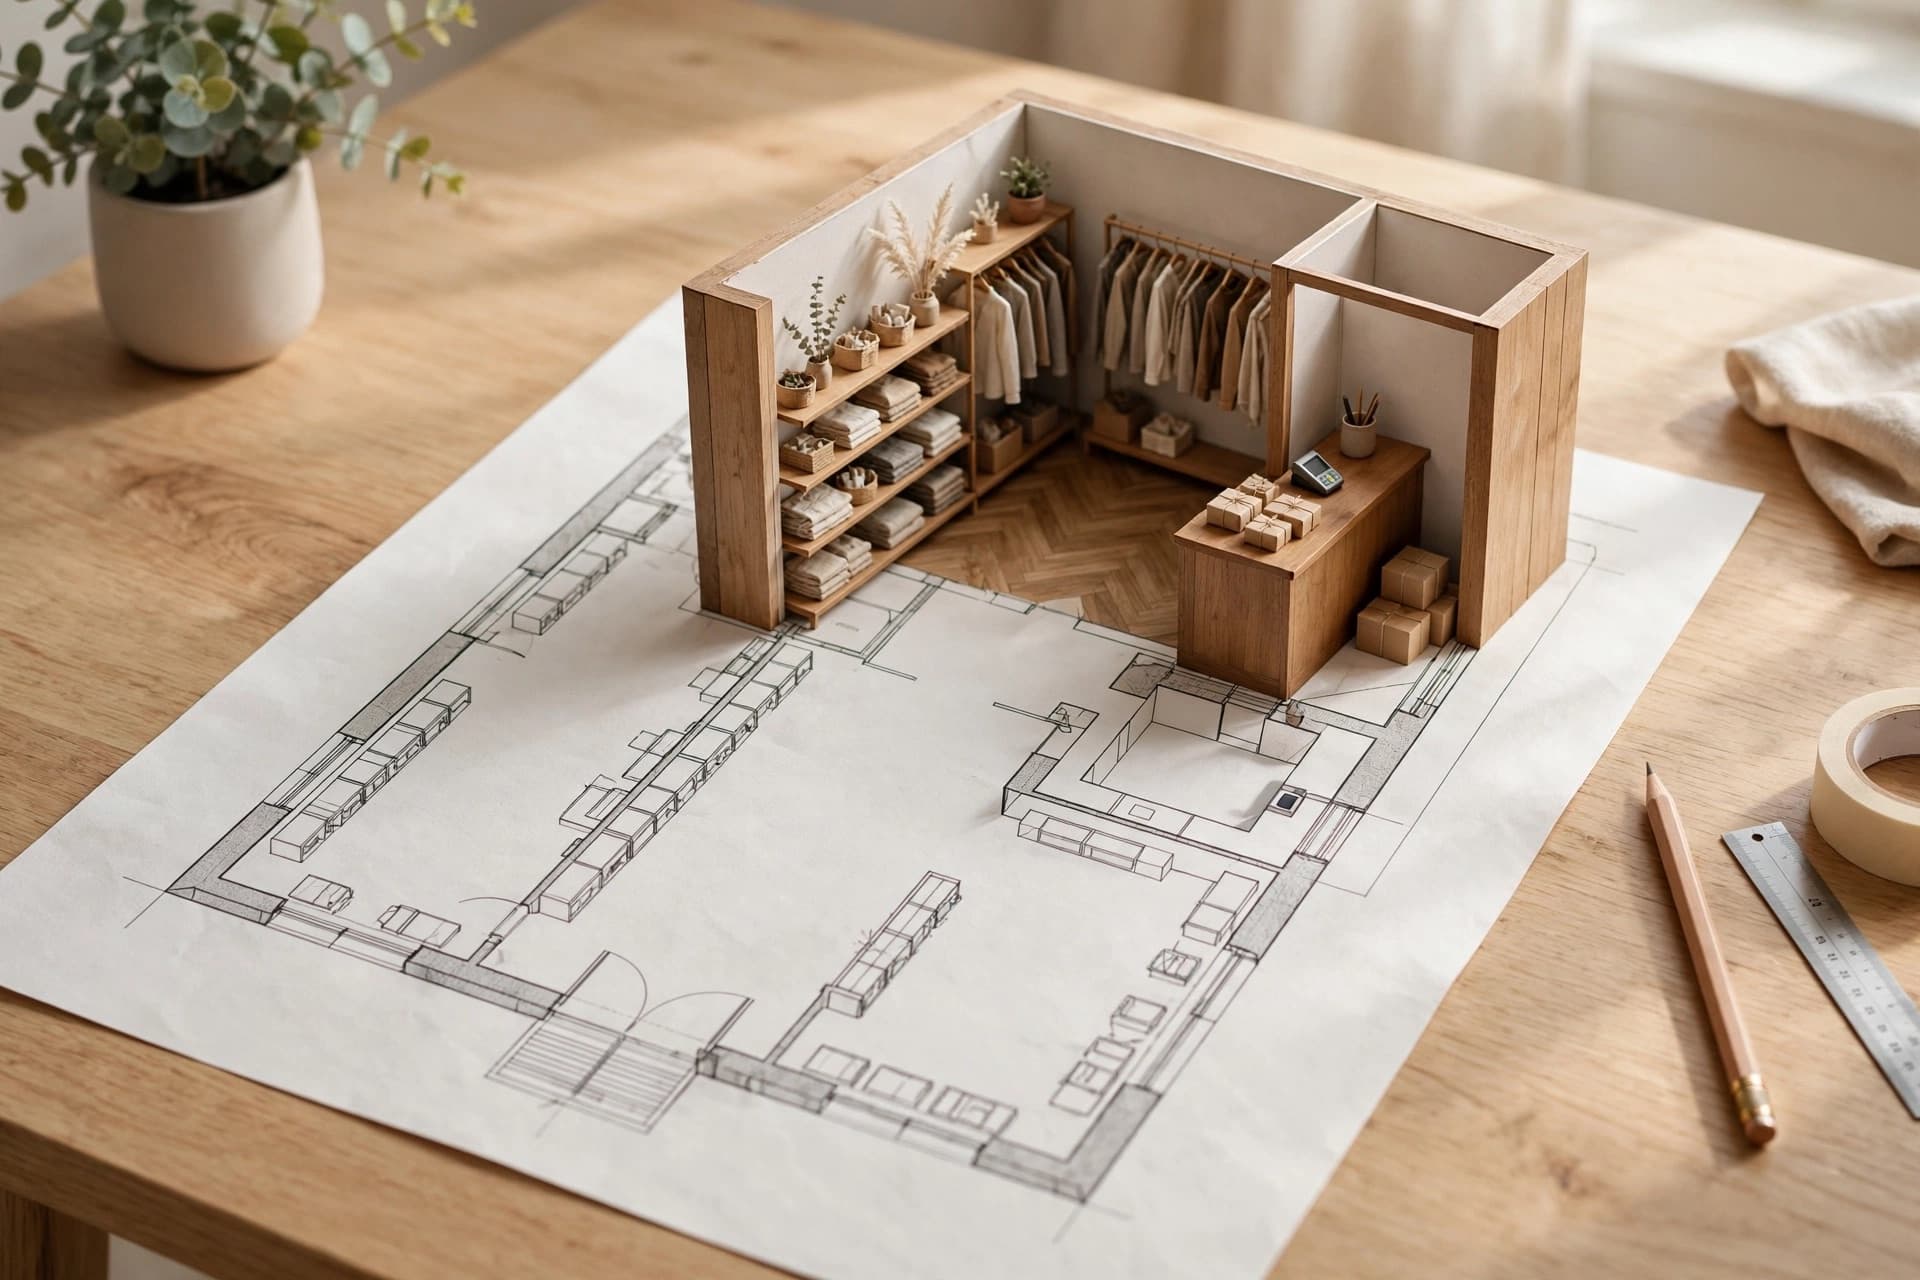
A floor plan is a document written for people who read floor plans. Clients, landlords and franchise owners usually are not those people. They nod at the plan, approve it, and then are surprised by the thing that gets built. Turning the plan into a render early is how you find out what they actually agreed to.
This guide walks through the whole path: preparing the plan, choosing the right view, reading the first result honestly, and correcting it without throwing it away.
1. Prepare the plan
You do not need a CAD file. A JPG, a PNG or a PDF export all work, and so does a photo of a printed plan, as long as the walls read clearly. Three things make the difference between a faithful render and a confused one:
- Contrast. Walls should be visibly darker than the floor. A washed-out scan makes openings ambiguous.
- Squareness. If you photograph a printed plan, shoot it flat from above rather than at an angle.
- Only the relevant sheet. Title blocks, revision tables and three plans on one page all compete for attention. Crop to the floor you want.
Furniture symbols on the plan are helpful, not required. If the plan shows fixture positions, the render will tend to respect them; if it is an empty shell, the space gets furnished from the brief instead.
2. Mark what you actually want
Whole-floor renders are the least useful ones. A 400 m² unit rendered in a single image gives every zone the same small share of the frame, and nothing reads. Select the sales floor, or the entrance, or the fitting room block — one coherent area at a time.
One good render of the entrance persuades more than four mediocre renders of the whole unit.
3. Choose the view on purpose
There are three views and they answer different questions, so pick the one that matches the question in the room:
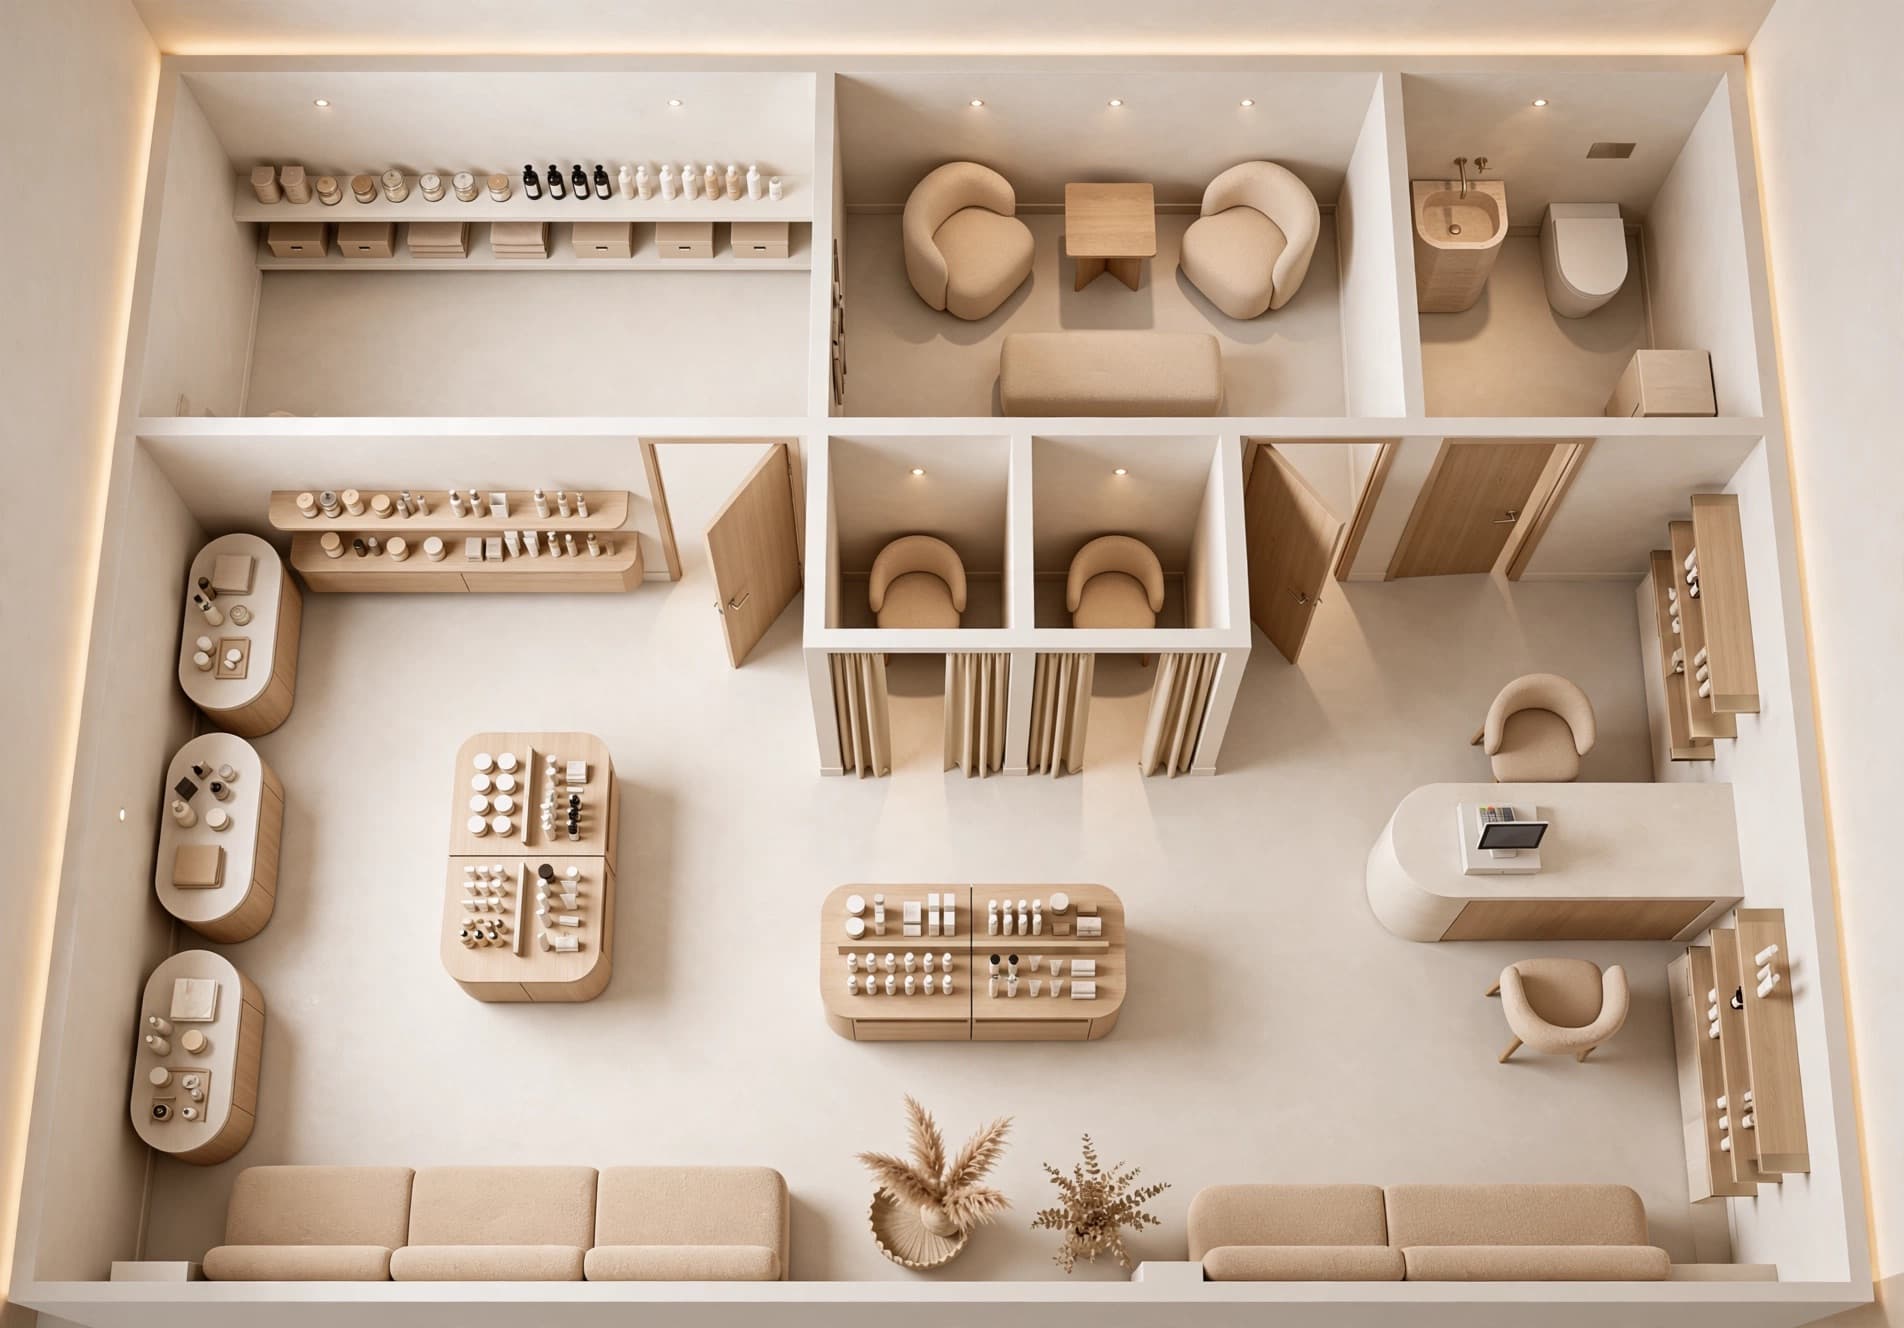
- Top-down answers "where does everything go?" — best for zoning, circulation and back-of-house discussions.
- Cutaway answers "how does this fit together?" — the doll-house view that reads volume and adjacency at once.
- Eye level answers "what does it feel like?" — the shot that wins the meeting, and the one to put on the cover.
4. Write the brief around materials, not adjectives
"Modern and beautiful" moves the output almost not at all. Concrete nouns do. Name the floor, the main fixture material, the wall finish and the light temperature, and the result changes visibly:
- Weak: a modern, elegant shoe store.
- Better: a shoe store with oiled oak fixtures, micro-cement floor, lime-plaster walls and warm 2700K spot lighting.
5. Read the first render critically
The first result is a draft, and treating it as a verdict is the most common mistake. Look at it in this order: is the layout right, is the light right, are the materials right, are the props right? Problems at the top of that list are worth regenerating for. Problems at the bottom are worth editing.
6. Fix instead of rerolling
If the composition works and one thing is wrong — a table in the walkway, a wall that should be concrete, light that is too cold — regenerating the whole image gambles away everything that was already right. Mark the area, say what it should be, and only that part changes.
7. Turn one render into a set
Once a render is approved, place a camera at the entrance, at the till and at the feature wall, and generate those views from the same base. Three coherent images of one space beat one image of three spaces, and they come out of the same render, so the materials and lighting do not drift between slides.
A realistic workflow
- 1Crop and upload the plan (2 minutes).
- 2Select the sales floor, choose cutaway, write a materials brief (3 minutes).
- 3Render, read it, regenerate once if the layout is off (2 minutes).
- 4Fix the two details that are wrong (2 minutes).
- 5Generate the entrance and till angle views (2 minutes).
- 6File the four images into a client project and export the PDF (1 minute).
That is a client-ready proposal in about twelve minutes, from a plan you already had.